Parts list
I’ve listed out everything that I used on this project on amazon.
- rs232 to rs422 converter
- usb to rs232 converter
- mini din 8 cable - this is enough to build 2 cables!
- wire cutter and stripper
- small screwdriver
Getting started
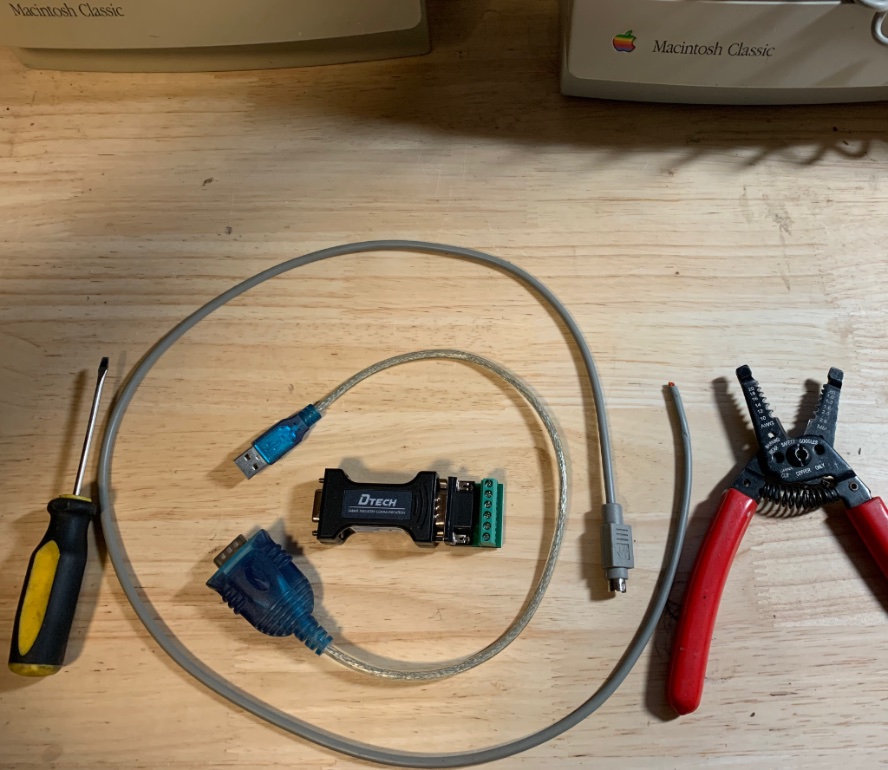
Let’s lay out everything that we need to make sure we have all the necessary tools that we need to get started first.
Again, before you get started, you should have:
- rs232 to rs422 converter
- usb to rs232 converter
- mini din 8 cable
- wire cutter and stripper
- a small screwdriver
What to do
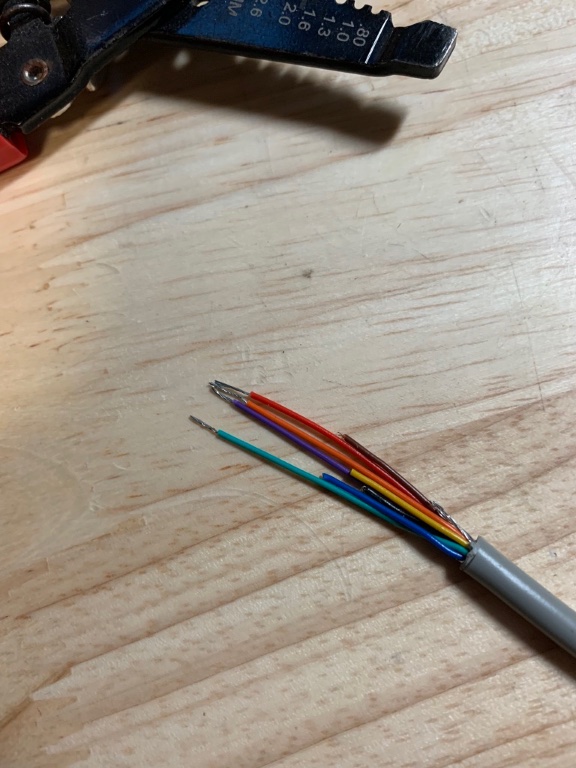
First, cut your mini din 8 cable in half. That’s right, you only need half of it. Save the other half to make a second cable! You can see from my parts photo, I’ve already done that prior to starting.

Cut about an inch of the outer sheathing off of the cable so you have room to work with the small inner wires. Be careful not to slice the inner wires.
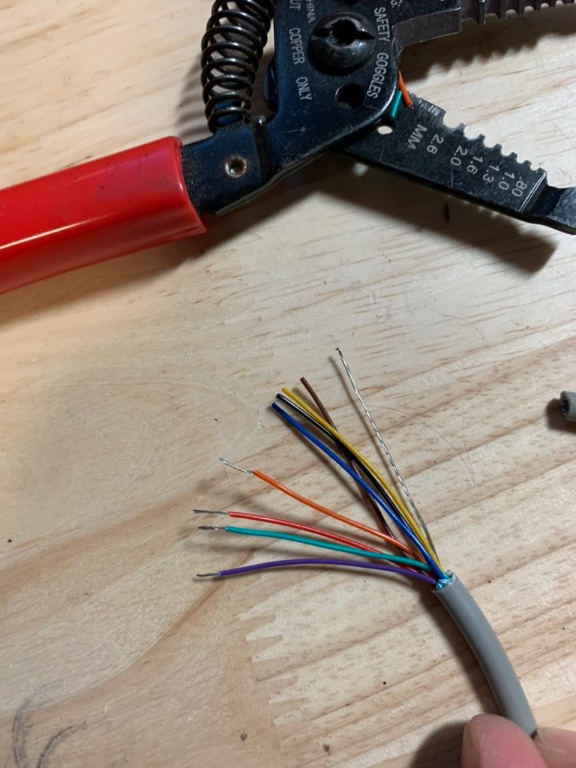
Strip the needed wires back on the half of the din 8 cable that you’re keeping. Note that wire colors should be standard across cables here and for our purposes we will be using purple, green, red, and orange.
Cut the other wires shorter so they don’t interfere with your work. I like to cut them all a slightly different length so that they can’t touch eachother either.
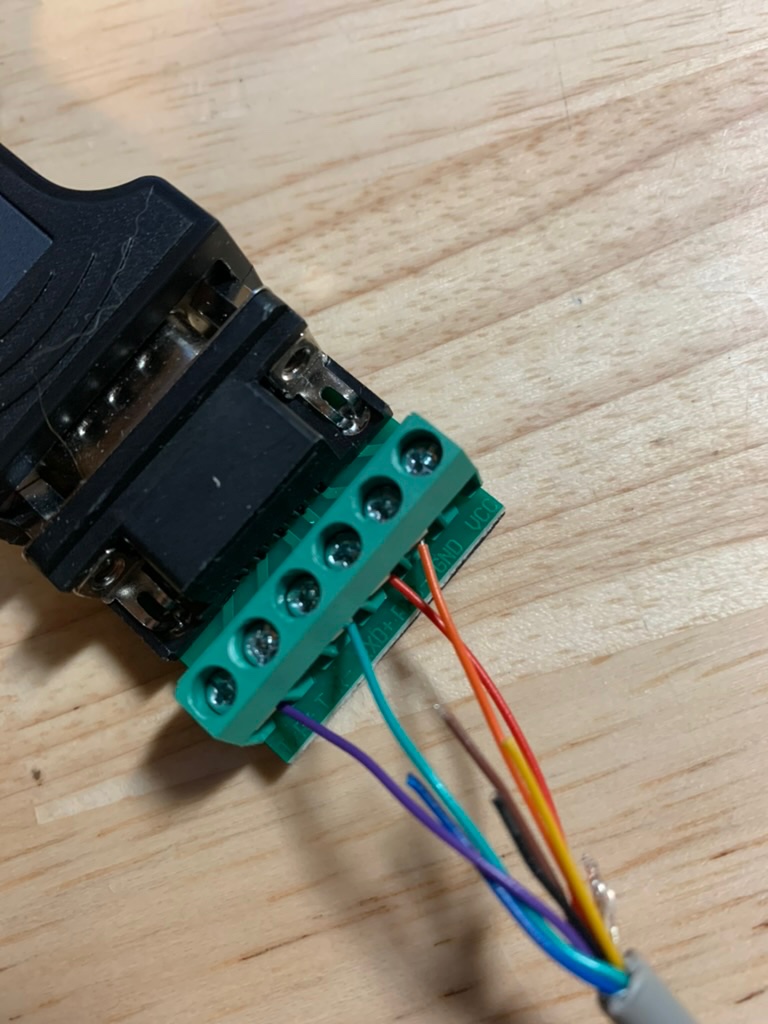
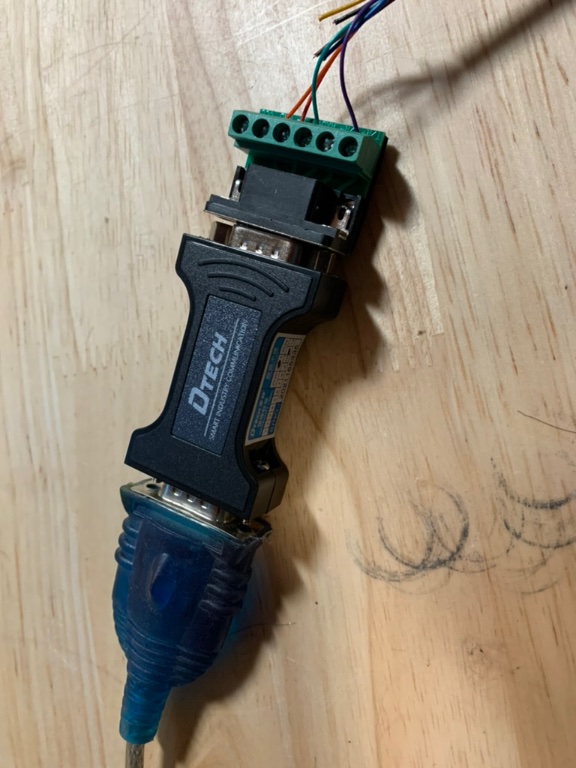
Wire your RS422 to RS232 converter to your mini din 8 cable halve:
- Purple to T/R+
- Green to RXD+
- Red to RXD-
- Orange to GND
Tighten the wires down to the converter using your small screwdriver.
Plug the RS422 to RS232 converter into the RS232 to serial converter
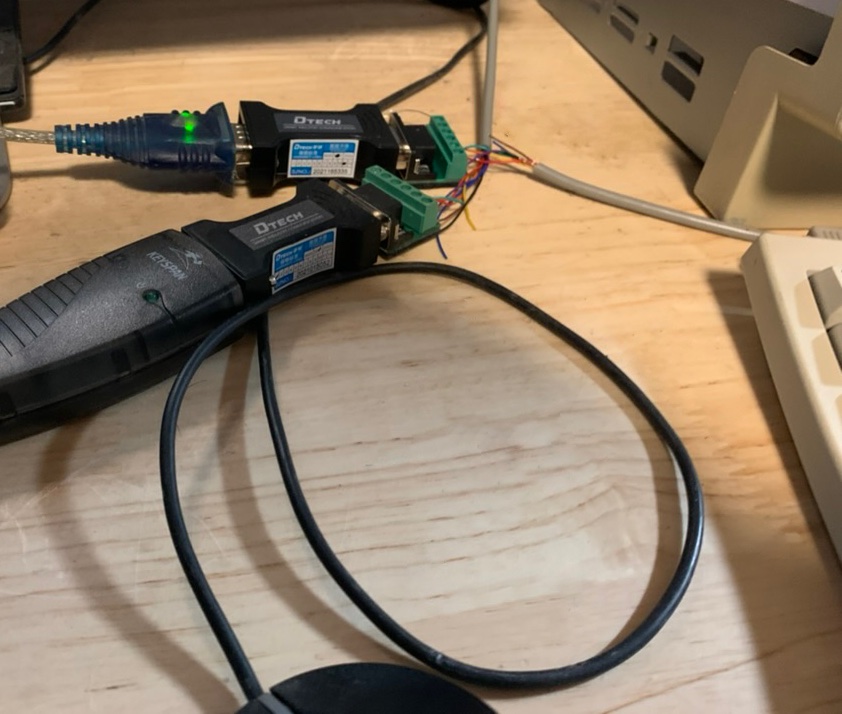
Plug the contraption you just made into your USB-based machine and your old Macintosh. It should work!
Enjoy!
Did you enjoy my post?
I'm really excited about the work that I'm doing here. If you enjoyed my post and my work, please consider tipping me with a coffee. I appreciate you taking the time to read my post!